✏️ GRIP, GRADES & FIRST SHADING
✏️ YOUR SKETCH KIT
Grab plain paper and a few graphite pencils before you start. You do not need fancy tools yet. This lesson teaches real pencil skills: how to hold the pencil, which grade to pick, and how to shade a simple round shape.
- ✏️ Graphite pencils: at least one H (harder, lighter), one HB (middle), and one B (softer, darker)
- 📄 Sketch paper: printer paper works, but slightly thicker paper handles erasing better
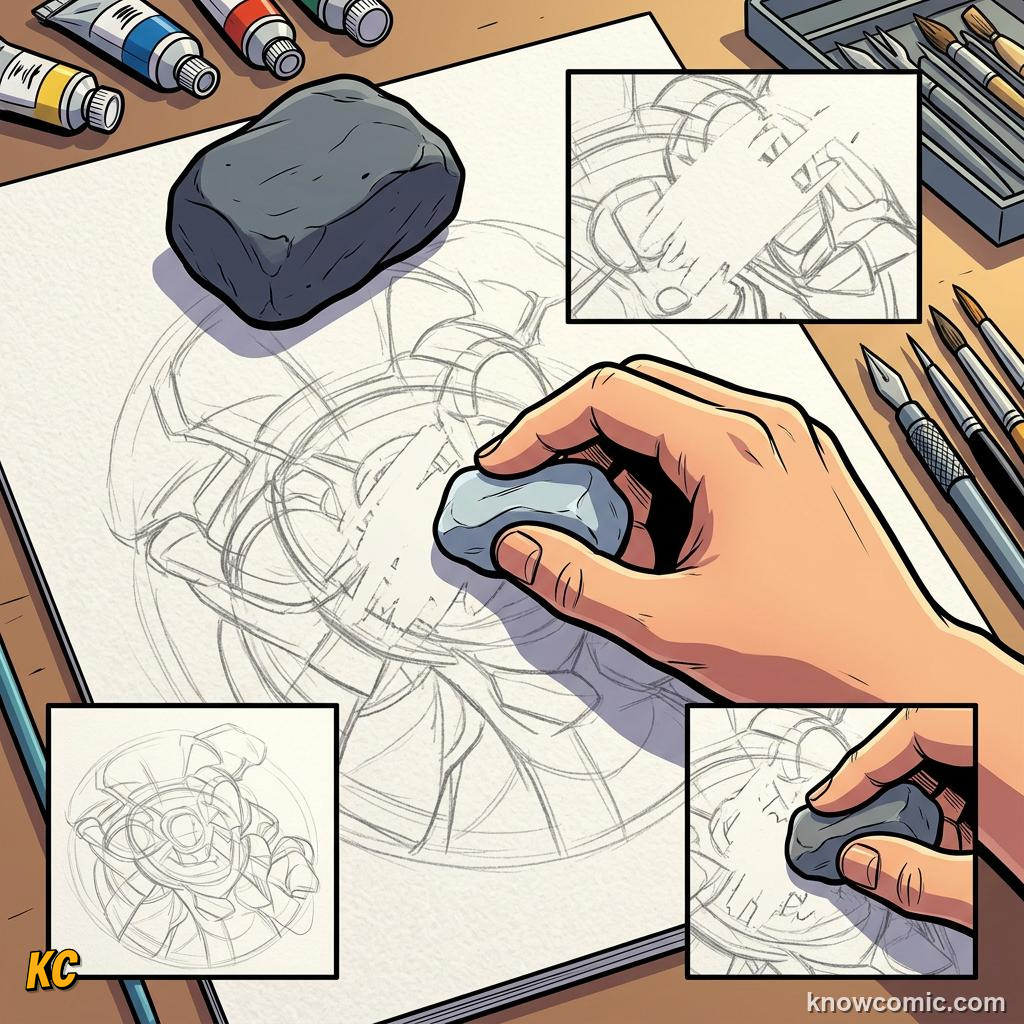
- 🧽 Kneaded or soft eraser: lifts light lines without ripping the page
- 🔪 Pencil sharpener: keep the tip ready for detail, but a flat side helps shading
- 💡 Good light: a desk lamp or window light makes your values easier to see
Time: about 10 minutes · Practice on scrap paper first · Erasing is part of drawing
PAGE 1 OF 5, HOW YOU HOLD THE PENCIL
TWO GRIPS
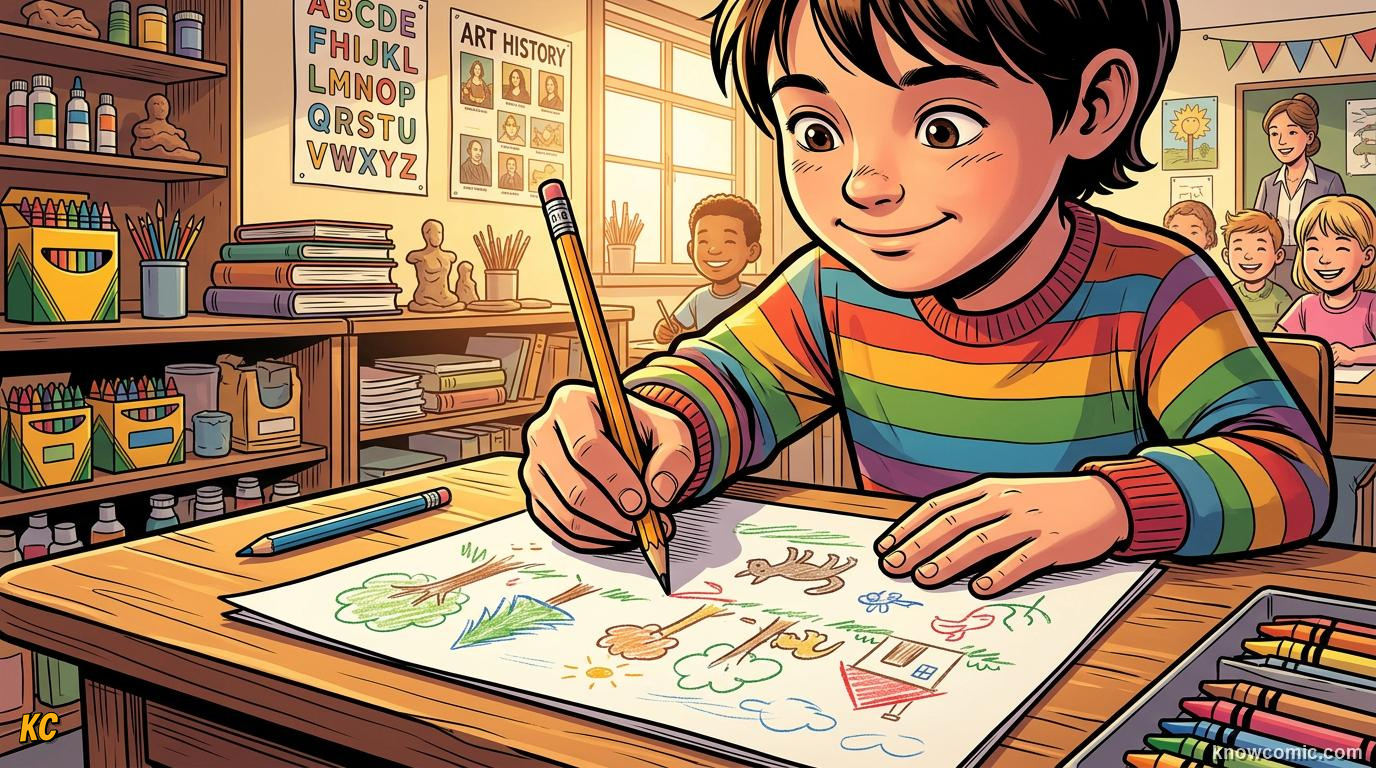
TRIPOD VS OVERHAND
Most beginners start with the tripod grip: the pencil rests on your middle finger while your thumb and index finger guide it from above. It feels like writing, and it gives you precise control for small marks and clean edges. The overhand grip flips the setup. You hold the pencil from above with your fingers farther from the tip, sometimes resting your hand on the paper. Artists use this grip for broad strokes, loose sketching, and shading large areas without cramping their wrist.
⚡ DID YOU KNOW?
Switch grips on purpose instead of squeezing one grip for every job. Tripod for details, overhand for big tone. Your hand stays relaxed and your lines stay lively.
GRIP!
TRIPOD
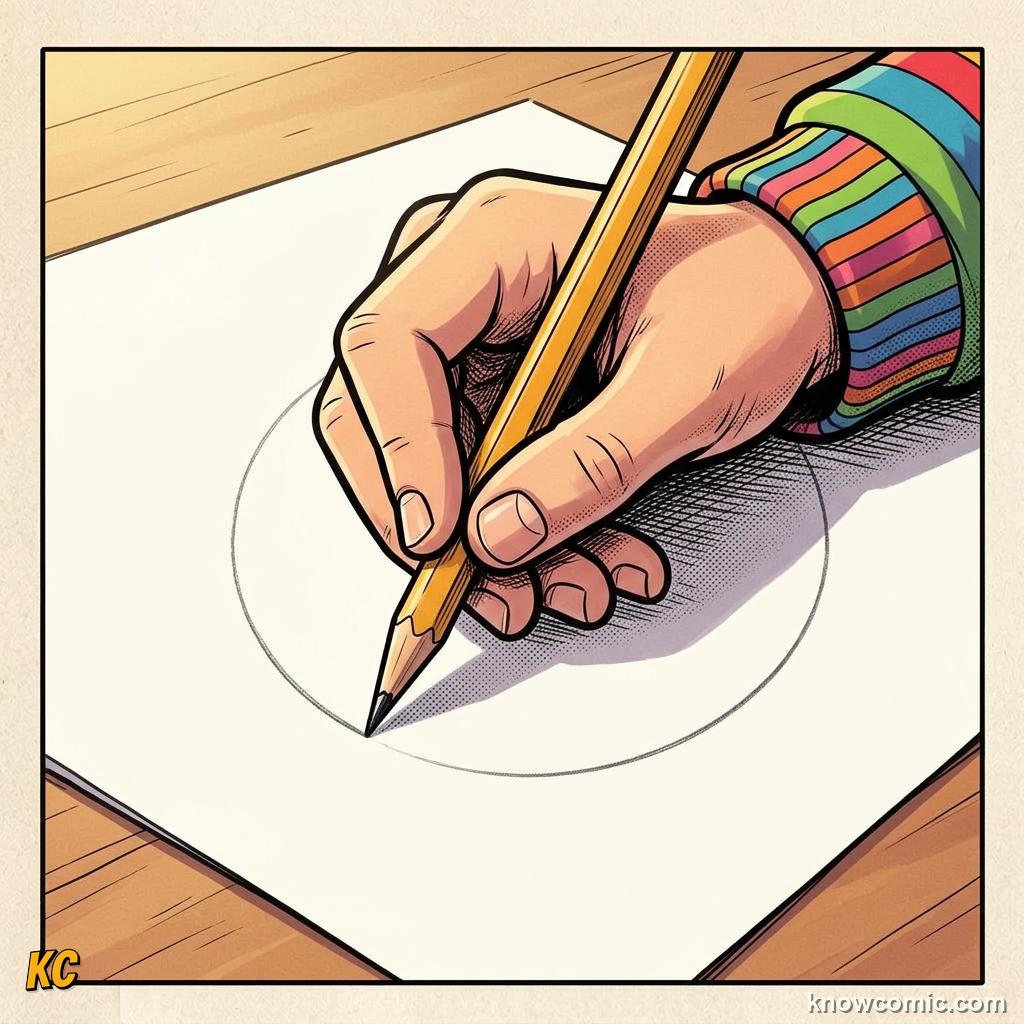
✊ Thumb, index, and middle finger form a tripod.
🎯 Best for outlines, lettering, and tight corners.
🎯 Best for outlines, lettering, and tight corners.
OVERHAND
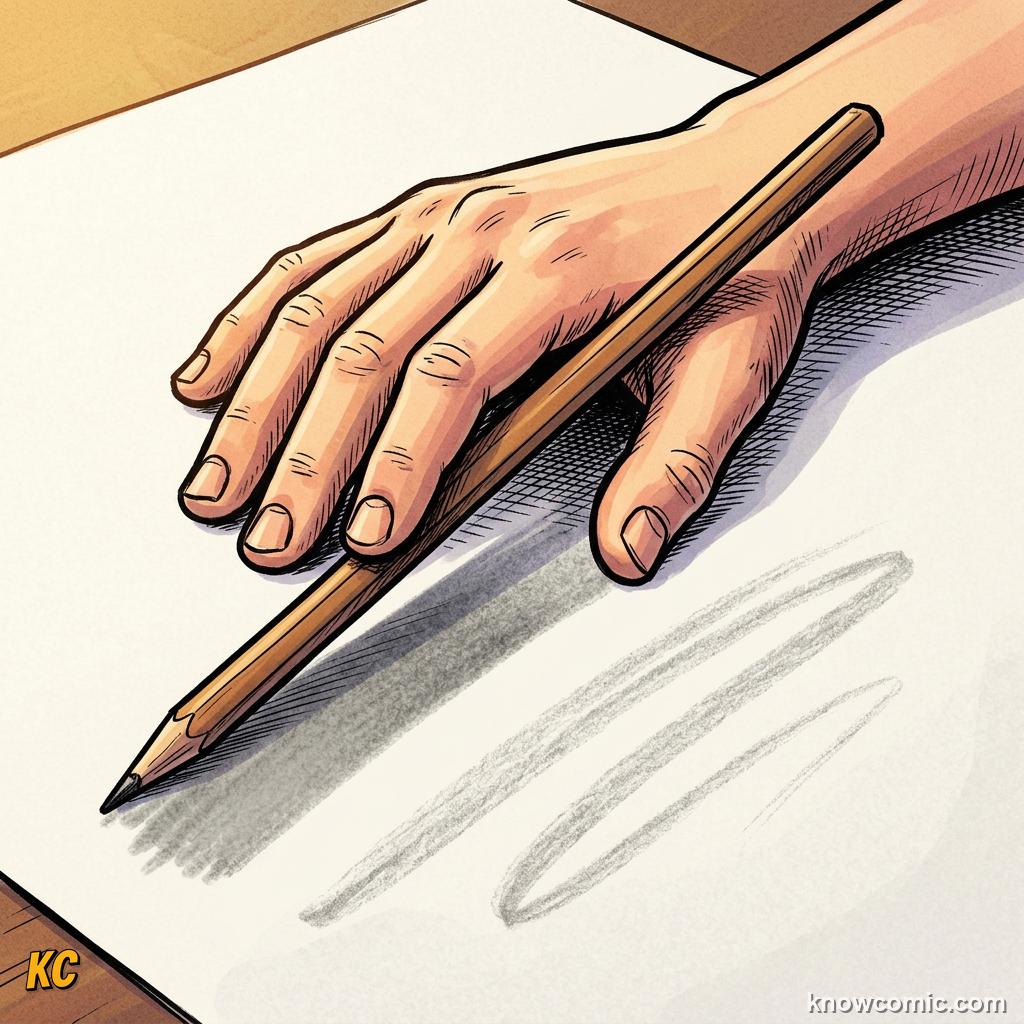
🖐️ Fingers sit higher on the barrel.
🌊 Great for shading swaths and loose gesture lines.
🌊 Great for shading swaths and loose gesture lines.
PAGE 2 OF 5, PENCIL GRADES EXPLAINED
THE H–B SCALE
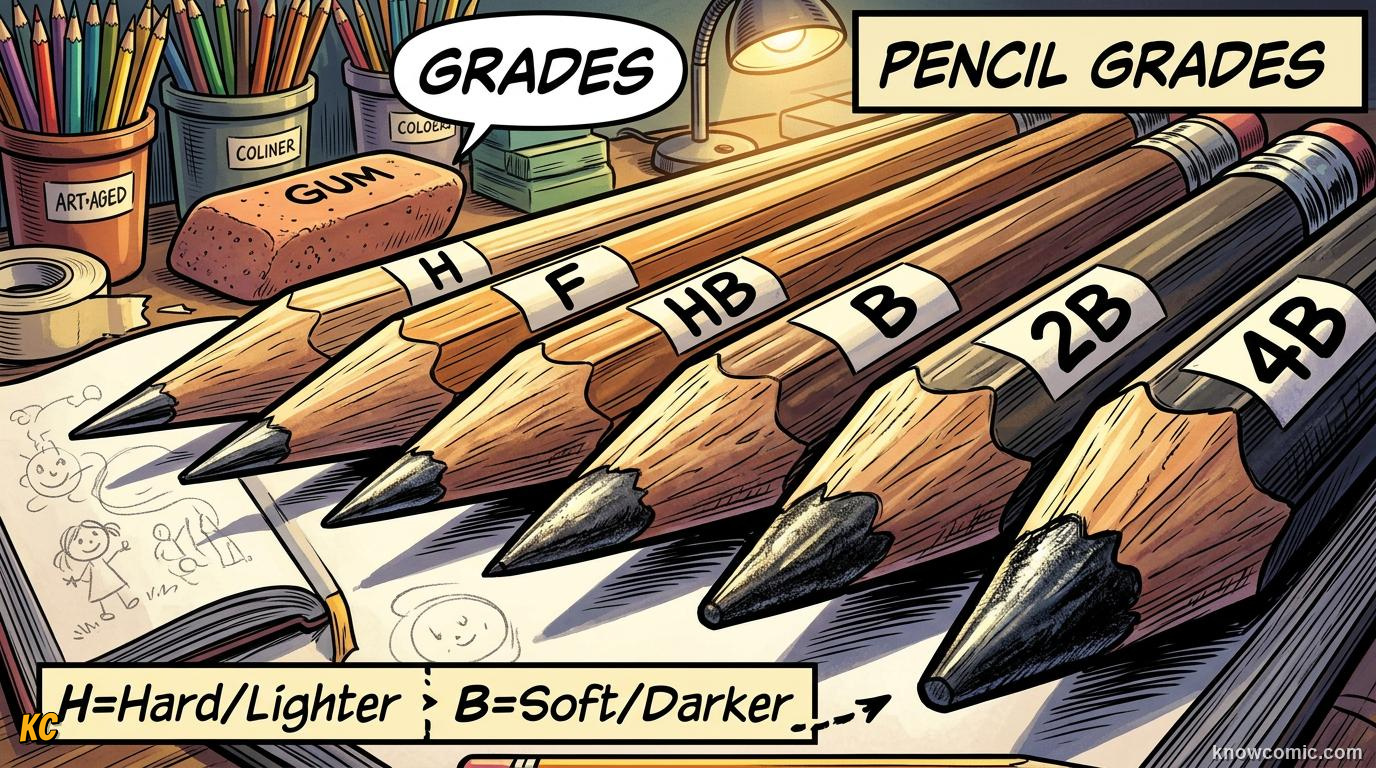
HARD, MIDDLE, SOFT
Graphite pencils are labeled with letters and numbers. H means hard: the core has more clay, so it scratches a lighter, sharper line. A 2H or 4H is even paler and great for faint construction lines. B means black or soft: more graphite makes darker, smudgier marks. A 2B or 4B can fill shadows fast. HB sits in the middle and is the classic school pencil, balanced for writing and light sketching. Pick the grade that matches the job: H to plan, HB to draw, B to shade.
⚡ DID YOU KNOW?
The scale runs from very hard pencils like 9H (very light) to very soft pencils like 9B (very dark). You do not need every number. Three pencils cover most beginner lessons.
GRADE!
H GRADES
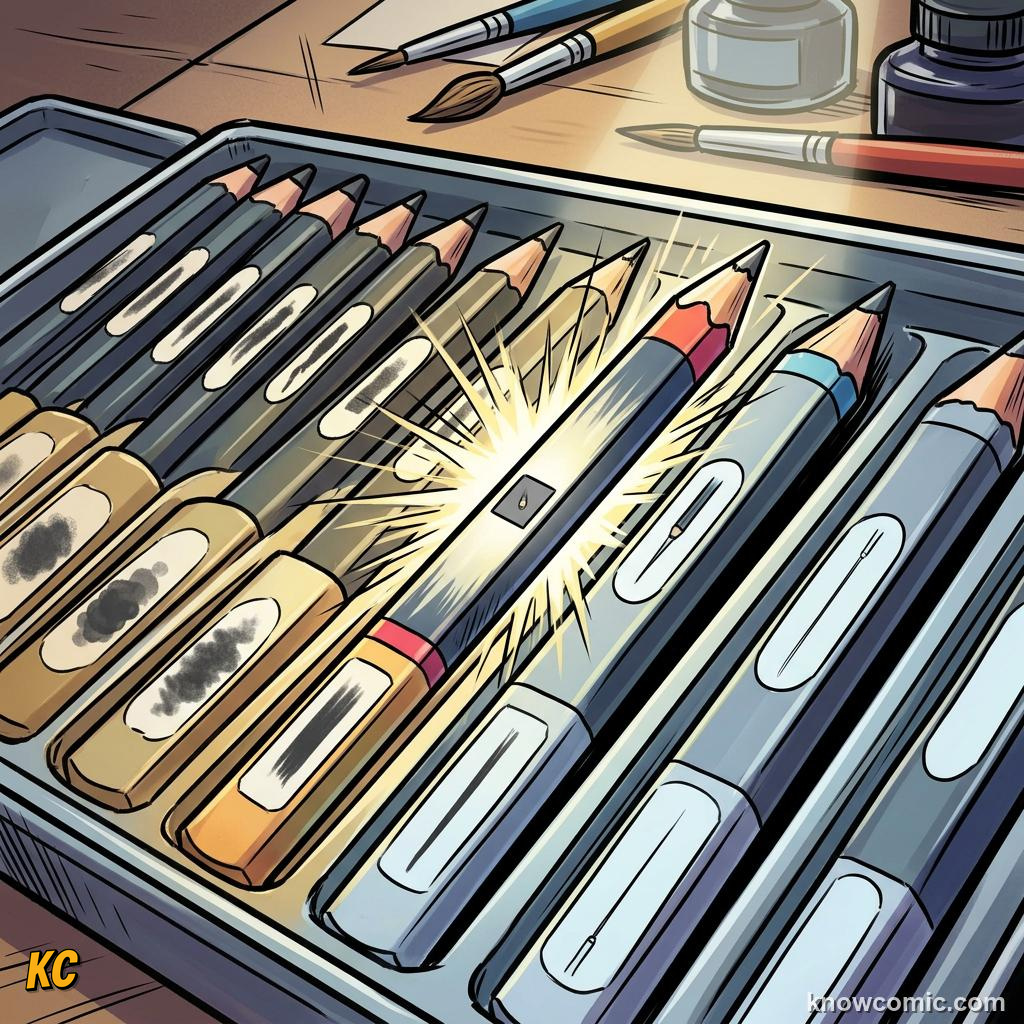
🔍 Hard core, light mark.
📐 Perfect for first layout lines.
📐 Perfect for first layout lines.
HB
⚖️ Middle tone, everyday pencil.
✏️ Good default when you are unsure.
✏️ Good default when you are unsure.
B GRADES
🌑 Soft core, dark mark.
🖤 Ideal for shadows and bold lines.
🖤 Ideal for shadows and bold lines.
PAGE 3 OF 5, LINE TYPES THAT BUILD A DRAWING
GHOST LINES
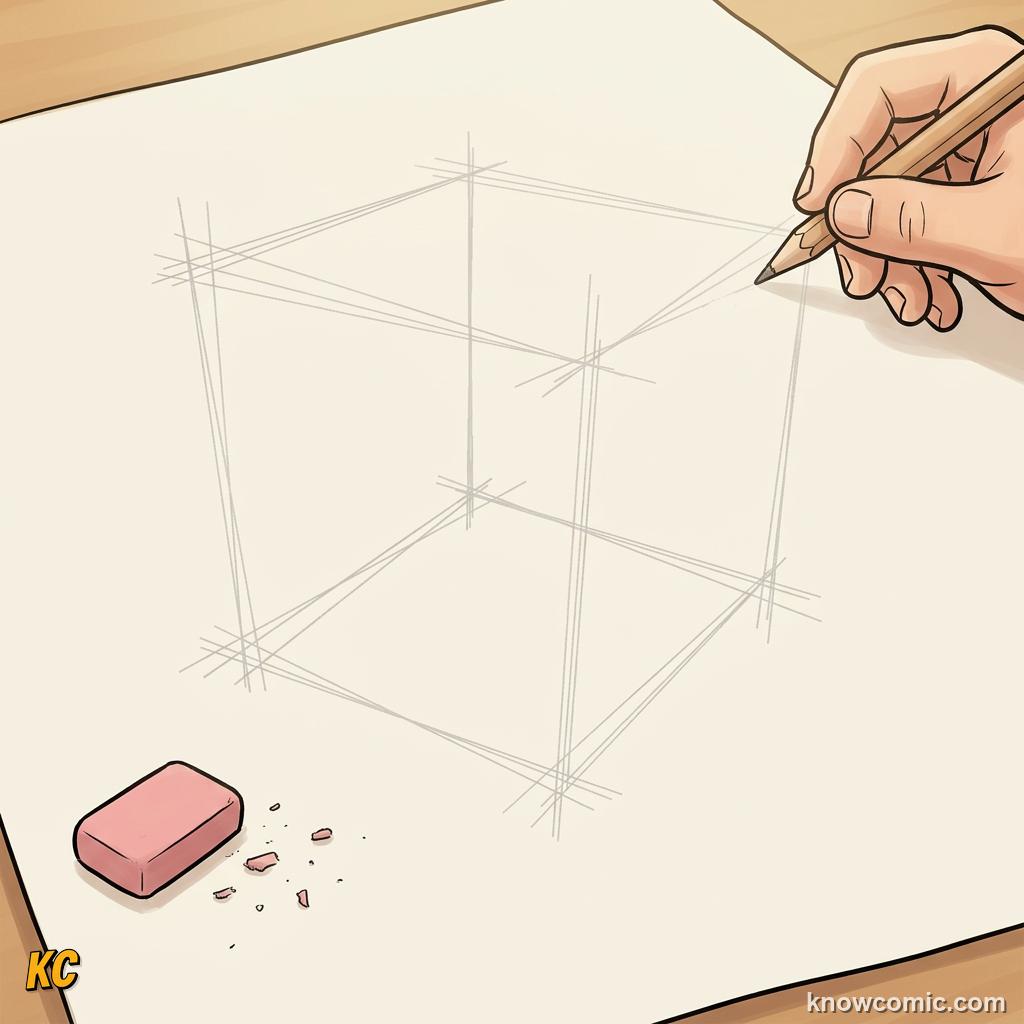
👻 Press lightly with H or HB.
🔄 Easy to erase and redraw.
🔄 Easy to erase and redraw.
CONFIDENT STROKES
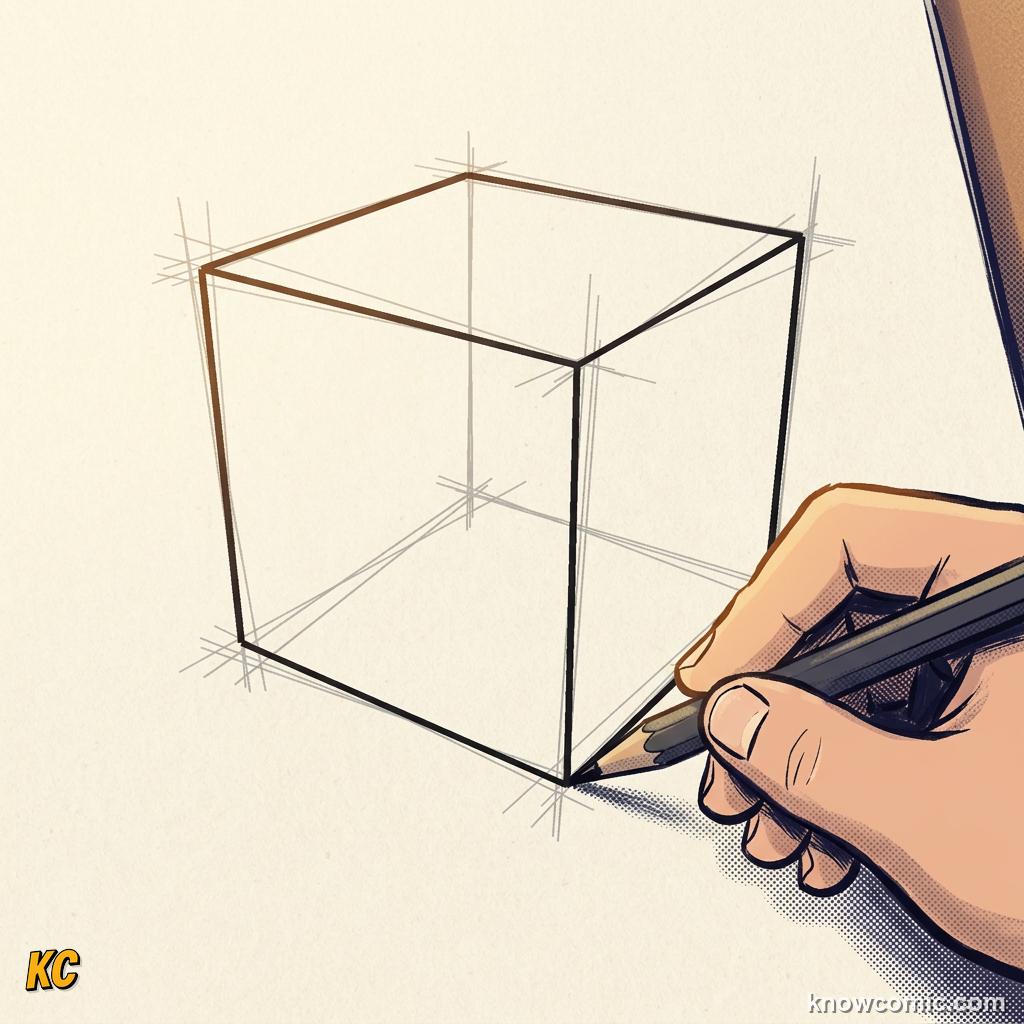
💪 Draw once with steady speed.
✨ Darken only the lines you want to keep.
✨ Darken only the lines you want to keep.
SKETCH FIRST, COMMIT LATER
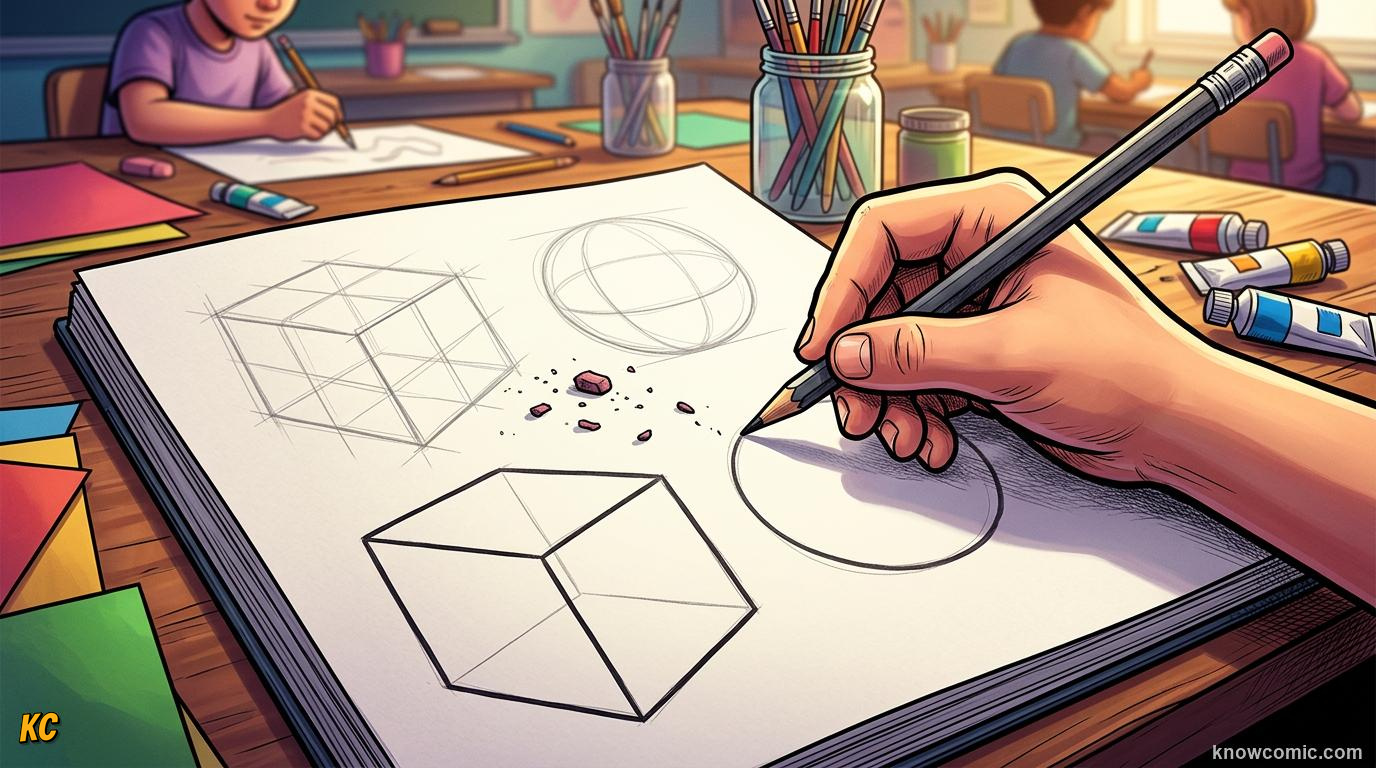
LIGHT SKETCH VS CONFIDENT LINE
Professional drawings almost always start with light sketch lines. These ghost marks map shapes, proportions, and angles without locking you in. Use a sharp H pencil and barely touch the paper. When the layout looks right, trace the best lines again with a confident stroke: one smooth pass, slightly darker, with your wrist or elbow driving the motion. Scratchy, repeated lines make art look nervous. Sketch loose, then commit clean.
⚡ DID YOU KNOW?
Draw from your shoulder for long curves and from your fingers for tiny details. Moving the right joint keeps lines smooth instead of wobbly.
LINE!
PAGE 4 OF 5, SHADING WITH PRESSURE
SIDE OF THE PENCIL
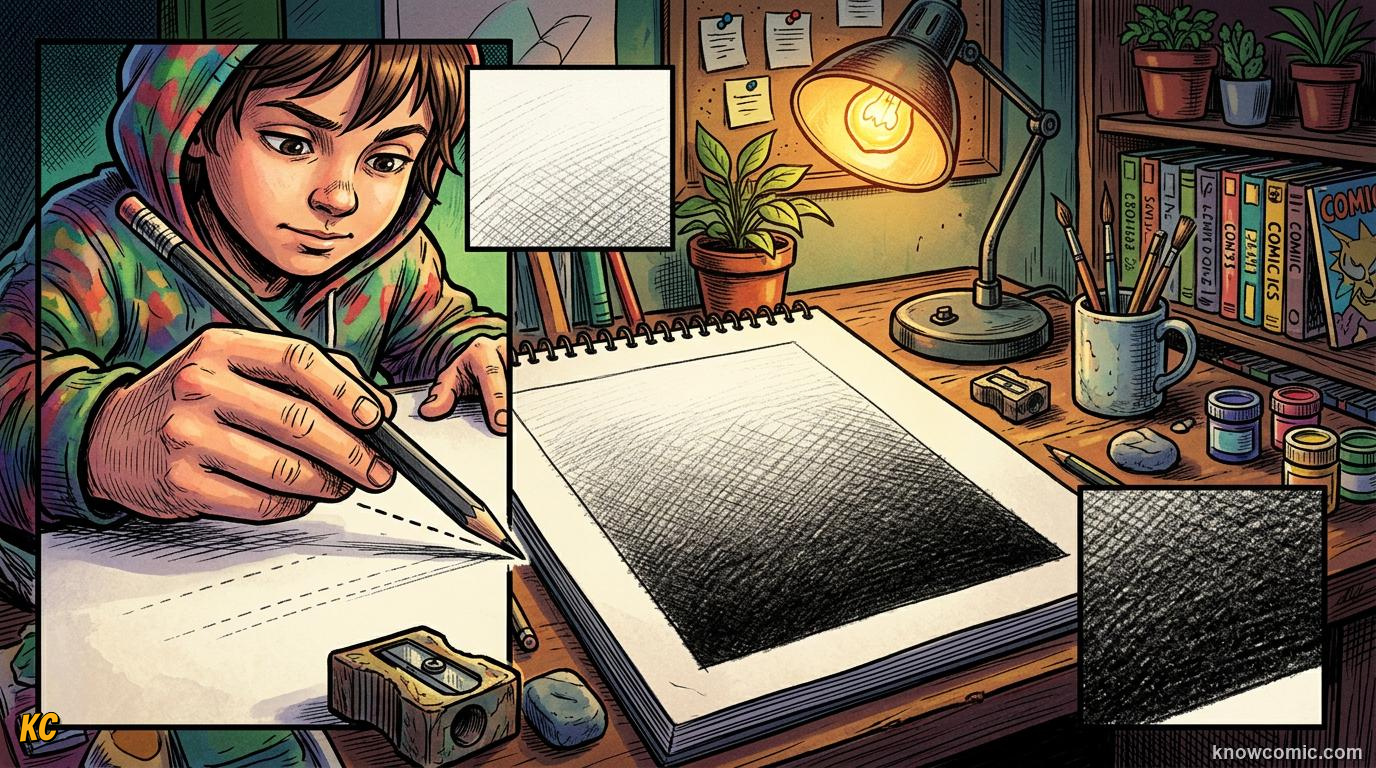
TILT, GLIDE, BUILD TONE
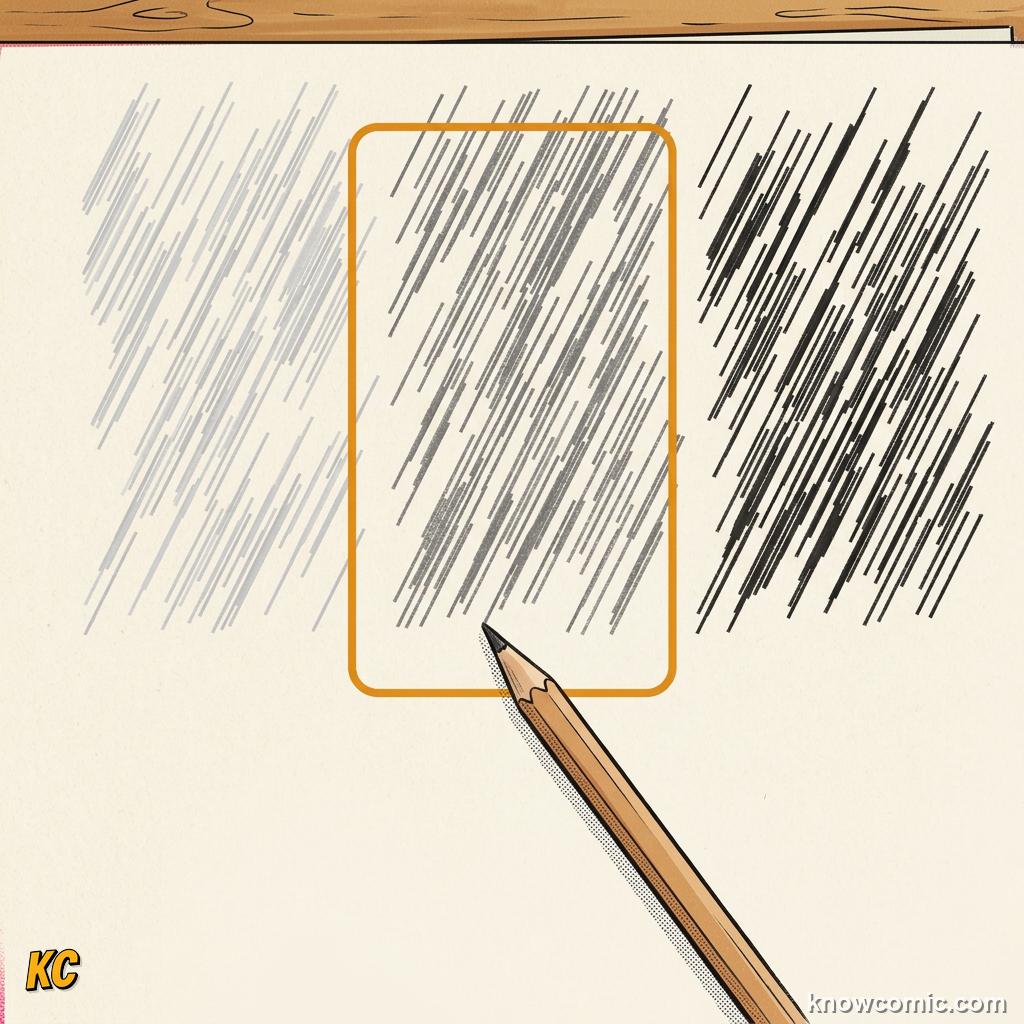
Shading is not about scribbling harder with the point. Tilt the pencil and use the flat side of the graphite to lay down a soft gray patch. Light pressure makes a faint value; heavier pressure makes a darker one. Layer many gentle passes instead of one crushing stroke. Going from light to dark turns flat shapes into rounded forms, because our eyes read darker areas as turned away from the light. Keep your paper clean by resting your hand on a scrap sheet when you smudge easily.
⚡ DID YOU KNOW?
A blunt pencil with a worn flat edge often shades more evenly than a needle-sharp tip. Sharpen for lines, dull for tones.
SHADE!
LIGHT
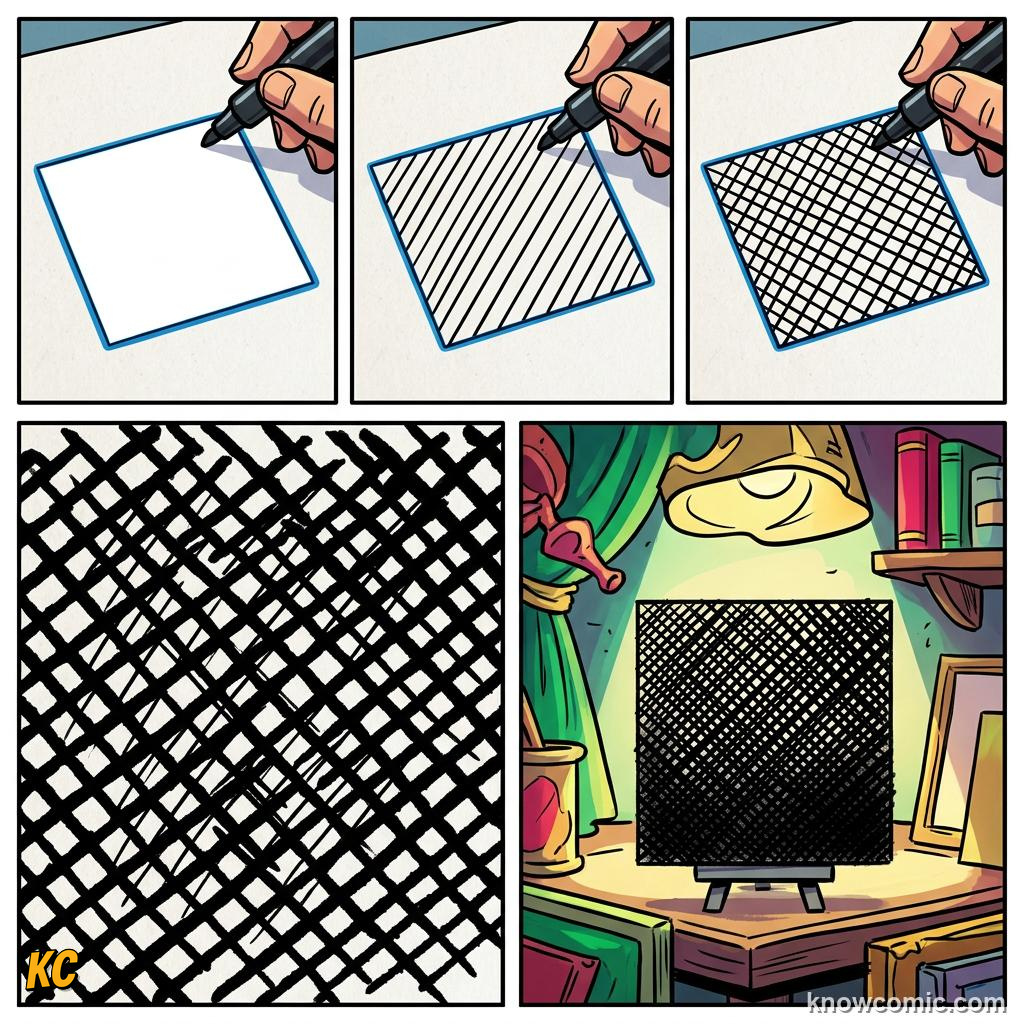
☁️ Feather touch, barely gray.
💡 Use for highlights and sky tones.
💡 Use for highlights and sky tones.
MID
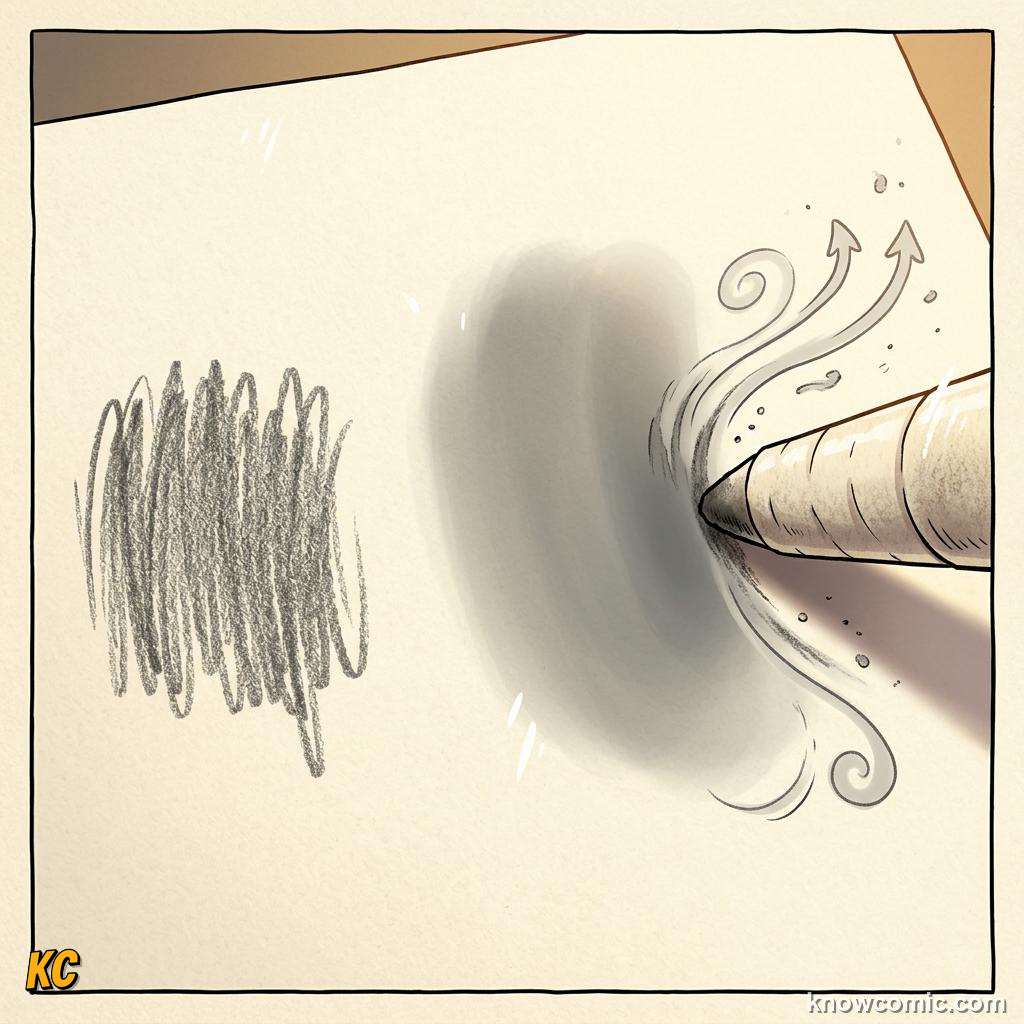
🌗 Medium pressure builds form.
🔁 Layer strokes in one direction first.
🔁 Layer strokes in one direction first.
DARK
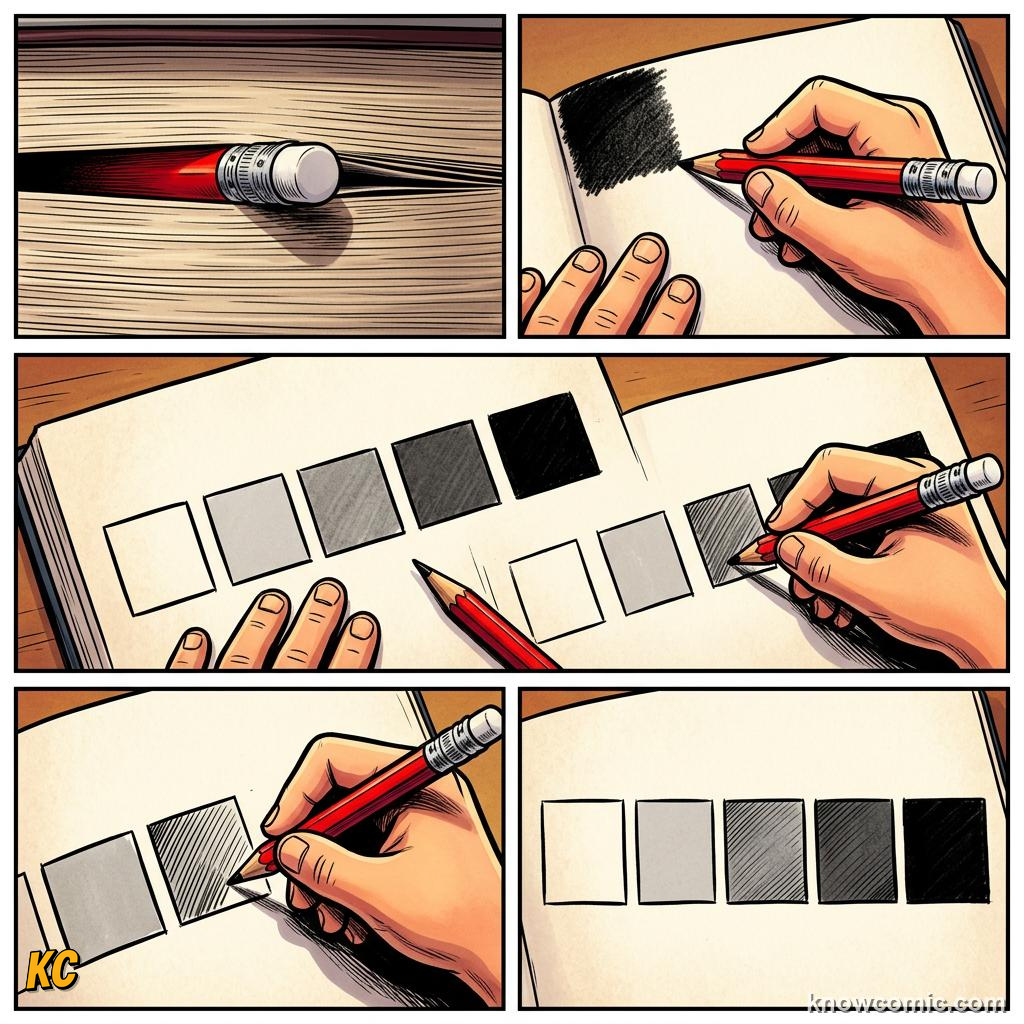
🌑 Save darkest marks for shadow cores.
✏️ A soft B pencil helps here.
✏️ A soft B pencil helps here.
PAGE 5 OF 5, SHADE A CIRCLE INTO A SPHERE
ROUND FORM LAB
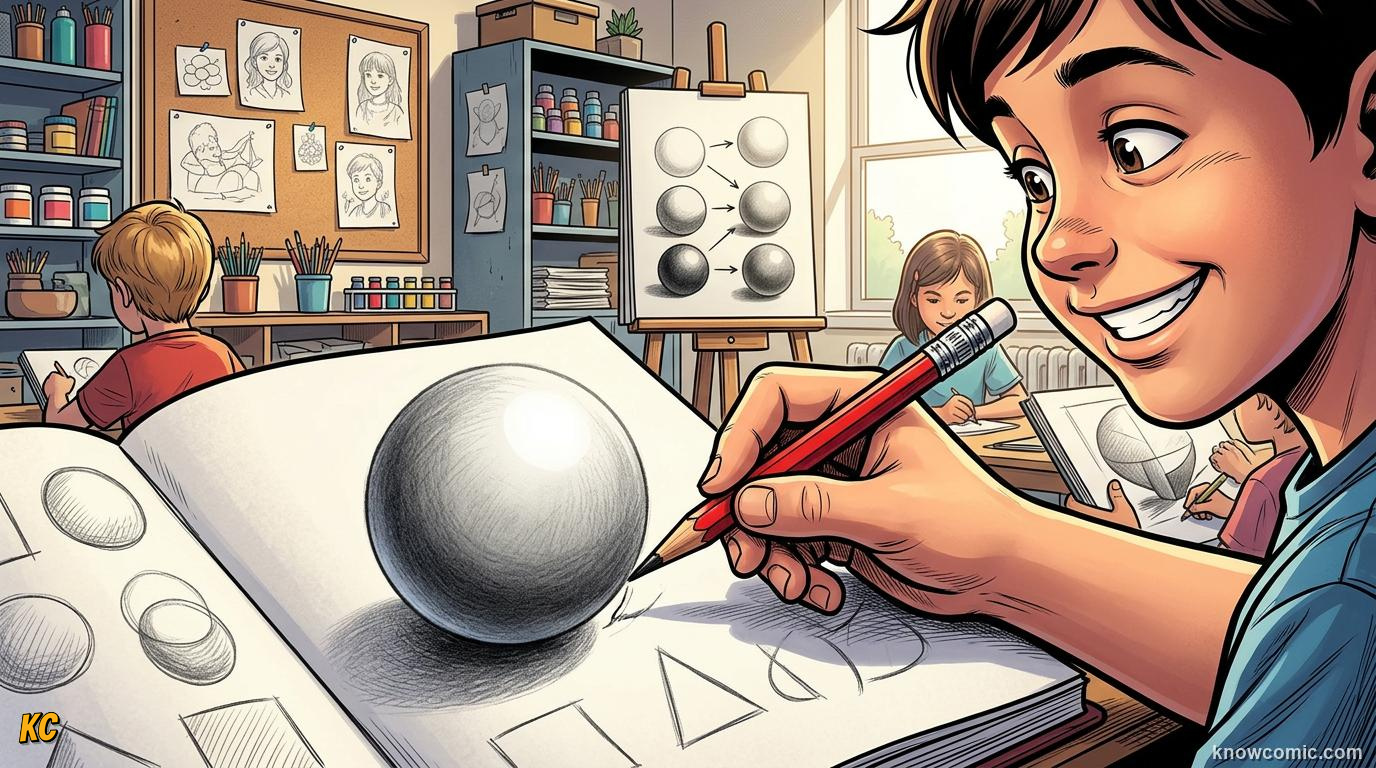
FROM FLAT CIRCLE TO 3D BALL
Draw a light circle with your H pencil. Pick one light direction, usually from the top left. Leave a bright highlight where light hits. Add a soft midtone across most of the circle using the side of an HB pencil. Push a core shadow along the opposite edge with a B pencil. Blend nothing yet if you are a beginner: neat overlapping strokes already sell the roundness. Step back: if one side is gray and the other stays bright, your pancake just became a sphere.
⚡ DID YOU KNOW?
A cast shadow on the table under the ball makes the illusion even stronger. Draw the ball first, then a flat oval shadow beneath it.
ROUND!
STEPS
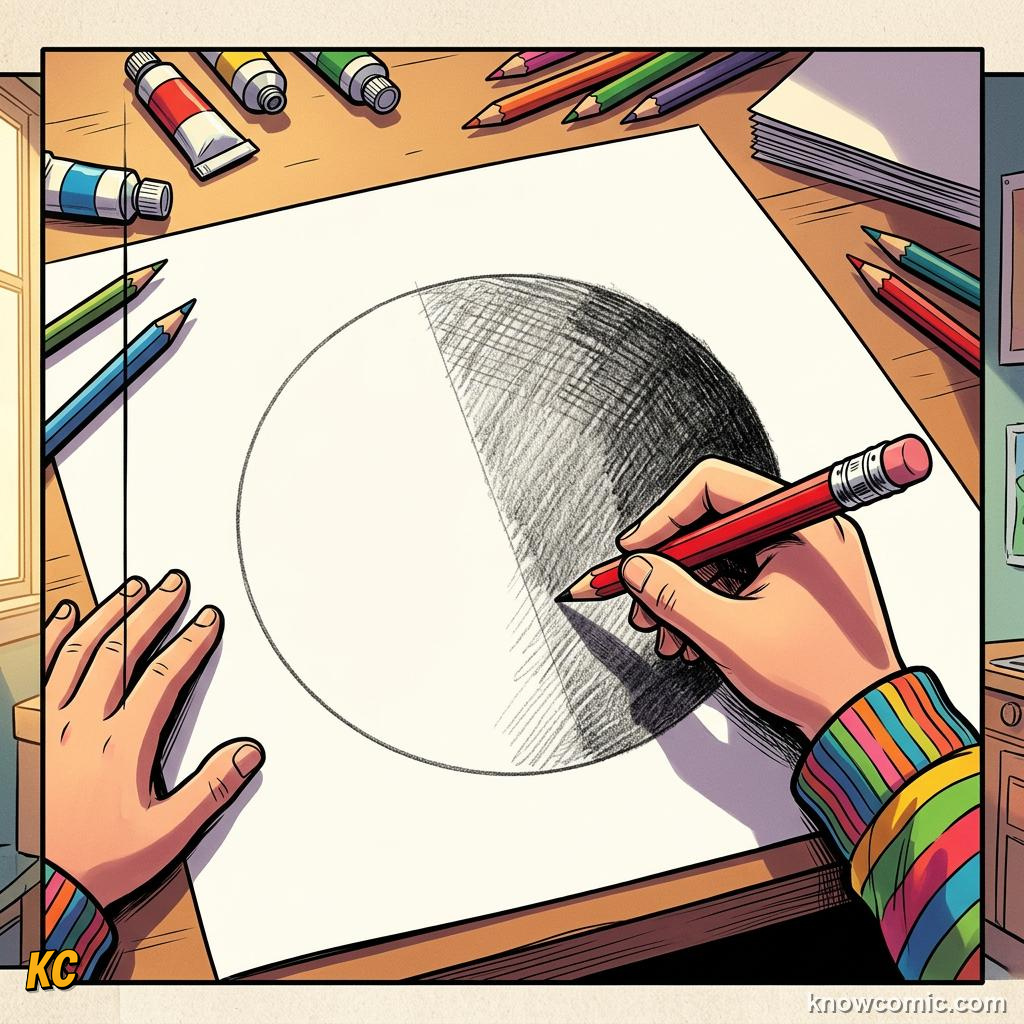
1️⃣ Circle lightly.
2️⃣ Midtone one side.
3️⃣ Darken the shadow edge.
2️⃣ Midtone one side.
3️⃣ Darken the shadow edge.
REMEMBER
✏️ KEY FACTS
Tripod grip controls detail; overhand grip covers big areas. H pencils sketch light, B pencils shade dark, HB sits in the middle. Sketch faint, then draw confident final lines. Tilt the pencil and vary pressure to make flat shapes look round.
✅ Practice five spheres, not one perfect circle.
✅ Compare your light side to your dark side.
✅ Erasing ghost lines is success, not failure.
✅ Compare your light side to your dark side.
✅ Erasing ghost lines is success, not failure.
No comments yet, be the first!